Tuesday, December 9, 2014

Sweet Sweet Potato

 In 2013 I tried to grow sweet potato vines from a store bought sweet potato.  I poked toothpicks in halfway down and placed it in water to let the eyes begin to produce vines.  I had no luck.
Now the older and wiser crew told me that while my methods were sound, I failed because of the radiation that store bought produce is subjected to these days.  That made me feel better about myself, but alas, still no homegrown sweet potatoes.

That brings me to 2014, when I purchased store bought sweet potatoes, from the same store even as the 2013 experiment.  Yet, these were not for growing, no they were for eating.  Except we forgot to eat them.  I let these two languish in a dry dark pantry.  You know, the kind of place every home gardener puts their seeds when they want them to grow!

Yet grow they did.  With no water and inadequate light, these radiated store bought sweet potatoes sprouted vines.  This was early in the growing season, causing me to think that I would transplant them out into the garden and all would be well.  Yet I didn't do that.

I again allowed them to languish in the pantry, devoid of sunlight and moisture.  And they continued to grow.  So finally, convinced that these must be the strongest and best sweet potatoes ever to be on the planted, I transplanted them.

Carefully, so as not to damage the divine vines, I pulled them off the potatoes themselves and placed them in a pint jar of water.  Soon roots began to take shape.  And the leaves grew and the plants strengthened.  

Finally, as you can see here, I moved them to potting soil and large enough containers to support growth of the next generation of sweet potatoes.
It should take four months for maturity, which would put me right in the spring when hopefully we can get these plants to start anew as we harvest the fruit of these vines.  Stay tuned for the progress.  My only concern is that too much watering and being placed in sunlight is going to be bad for these guys.
Wednesday, December 3, 2014

Hugelkultur Part Two

You know what else has layers?  Hugelkuturs have layers.  My plan was manure after the wood topped with soil.  I might mix some compost material in later.  But today was for layers two and three.

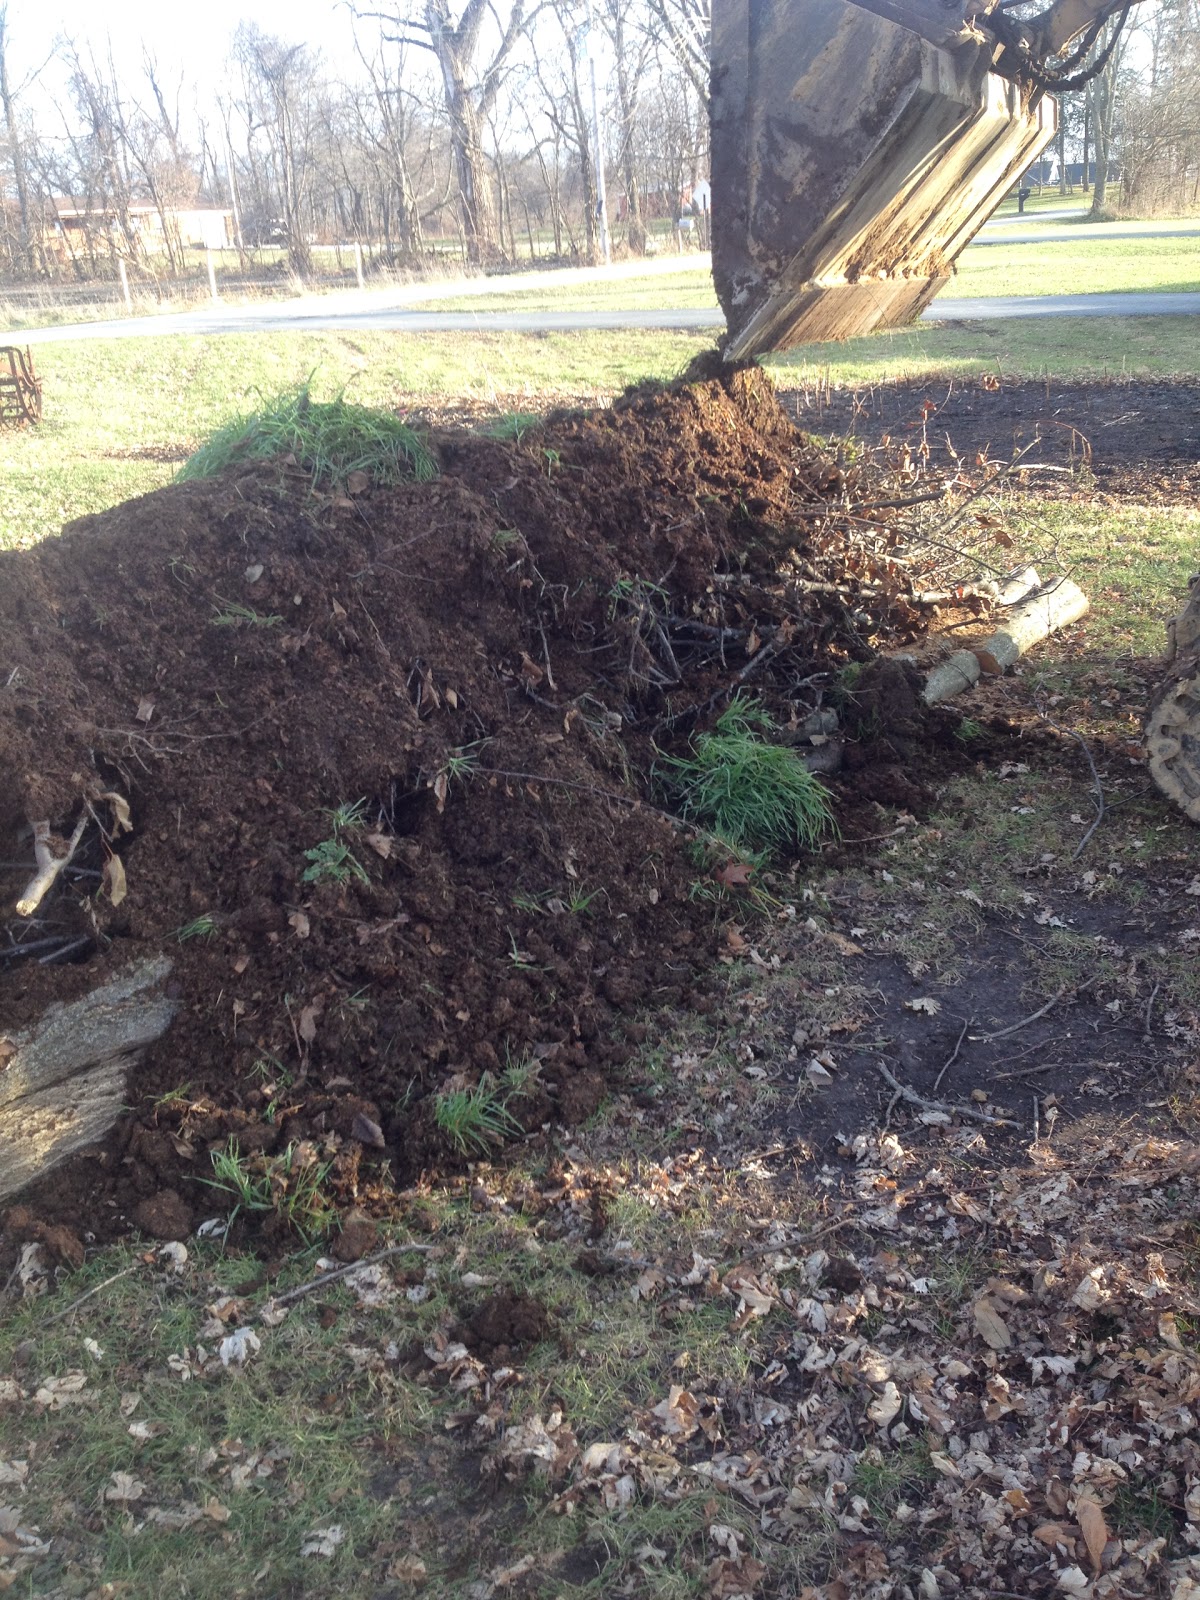
Today, with the help of Bill Staley I continued my construction of my hugelkultur.  Here Bill dumps one of many loads of manure on top of the wood pile from the other day.

Now that the entire pile has a layer of manure, we are ready for dirt.

Here is a close up of the south end of the pile with soil on it.


Here is a view of the pile as it sits now.  I'll let it compact a little during the winter and probably do a little shaping in the spring.


During the winter the hugelkultur should begin to break down the wood, allow the manure to age properly, and compact into a nice mound.  Unless I decide to start shaping it now, I'm done with this project until the spring.

Sunday, November 30, 2014

Hugelkultur

This may just look like a pile of wood waiting for a good bon fire, but it isn't.  This is the beginning of my hugelkultur.  At the end of this year's gardening season, ours had become overrun with weeds.  We did a poor job of maintaining it this year.

My bride asked me to look into raised gardens and see if they were easier to keep weed free.  In my searching, I came across hugelkultur and was immediately hooked.  The process takes care of some otherwise useless yard waste in rotting wood and branches.  It is less dependent on water which helps us conserve and is lower maintenance.  The raised height of 4-5 feet will reduce bending and stooping for the weeding and picking at the top of the garden.  Plus I like mounds as a visual change in the yard.

I chose this spot for two reasons.  1) Susan's Grandma used to have a garden in this area.  We like the idea of gardening where she did and it is closer to the house than our current area.  2) Grandma planted an arbor day delivery of ten trees here and they got out of control. I combined two steps in one and cut those trees down and started piling them over the stumps to create my hugelkultur.  

I have placed some manure on it, and will place more before I put some of my compost on.  Lastly I'll mound some soil over the top and let it mature until planting time.  I'm excited about the process and hopeful the benefits are as good as promised.  More to come.

Tuesday, May 27, 2014

Busy Spring

A lot has happened since my last post.

On May 6th, Susan and I closed on purchasing 20 acres of the property.  We are no longer just tenant farmers, we are the owners!  Only 360 more payments and we'll own it free and clear.

The asparagus which had been transplanted, has now been transplanted outside to it's permanent bed.  Nineteen plants were moved outside.  A couple got bound up in their container and I broke the root ball.  Those seem to be suffering, but I am looking forward to seeing how the rest work out over the first year.

Two weeks ago we planted Gracie's garden.  It is ten rows that are only about five feet long.  It has some corn, green beans, lettuce, carrots among other things.  It also has her lima and pinto beans.  They were a school experiment last year, and we kept all the seeds that developed off the one school seed to replant this year.  Some are already germinated!

Yesterday Susan and I planted the rest of the garden.

  • 9 tomato plants
  • 9 potato holes
  • 6 peppers
  • 1 watermelon mound
  • 2 zucchini mounds
  • 4 cucumber mounds
  • 4 long rows of corn
  • 4.5 rows of green beans (including three types of our own harvested seeds)
  • 1/2 row of snap peas
  • 1 row of radish
  • 1 row of carrots
  • 1 row of onions
  • 1 row of green onions
  • 1 row of kohlrabi
  • 1 row of spinach
  • 1 row of mesclun lettuce
  • 1 row of romaine lettuce
  • 1 row of brussels sprouts
Now the real fun begins.  Weeding!

Tuesday, March 25, 2014

Transplanting Asparagus


In an earlier post I commented that most of my asparagus germinated at the three week mark, as might be expected.  I looked at my calendar again and realize it was only two weeks.  The problem I am having is I didn't get a good enough light, nor get it low enough, and I am ending up with leggy asparagus.  This picture shows where I have piled up some dirt around the stem to help support it.  It really doesn't look too bad in this picture, it was really drooping prior to my efforts.

I decided my best course of action was to transplant.  As you see in the picture above, I used a pretty deep container for my seed starting.  Turns out, the root as all the way to the bottom.  I didn't think asparagus had a deep root system, but I could be wrong.  This shot of McDonald's cups is the result of my transplanting.  I put the root pretty near the bottom of the cup to allow room to bury a decent amount of the leggy stem.  I even buried some of the ferns.

I am hopeful that this will help strengthen the plants and that the larger container will give it more room to properly root.

My concern is that this seems a lot like the corn I started last year that didn't end up doing well at all.  Their wasn't a real root ball on most of these plants when I transplanted them, so I am afraid of shock too.

Fingers crossed, as this is a project I really want to turn out well.


Thursday, March 13, 2014

One Of These Things Is Not Like The Others

My elation over my first, and early, asparagus was misguided.  As you can see from the picture, now many asparagus seeds have germinated.  That first sprout doesn't look like the others.  I'm thinking we had a rogue seed in our potting soil.  Anyone have any ideas on what it may be?

Wednesday, March 12, 2014

The Future of Asparagus is Brighter

I put light on the newly sprouted asparagus last night.  During the day yesterday we had a lot of activity and have a dozen sprouted so far.  There are 6 from the 2013 crop and 6 from the 2012 crop.  The germination rate is much higher so far on the 2013 crop.

I'm looking forward to seeing if that trend continues over the next couple weeks.

Tuesday, March 11, 2014

Asparagus Germinates In Record Time

When I planted 60 asparagus seeds on Feb 25th, I was sure I would be watering nothing but dirt for three to six weeks.  Then after just two weeks I saw this!
Now on the 20th day I have three more that poked up.  I need to get light on them soon, but expect many more everyday now that we have hit the three week mark.

Monday, February 24, 2014

Asparagus; Part Deux

In my post from September 23rd, I referenced planting aspargus.  Today I planted the other half of the saved seeds.  There were quite a few more from 2012 than from 2013, but in all I planted over 60 seeds in a seed tray indoors.

My goal is to see which method works better.  Direct seeding in the fall or starting indoors.  I am also testing whether the dried seeds or fresh seeds work better, but only in the direct seeding experiment. 

Look for pictures as we begin to see them sprout.